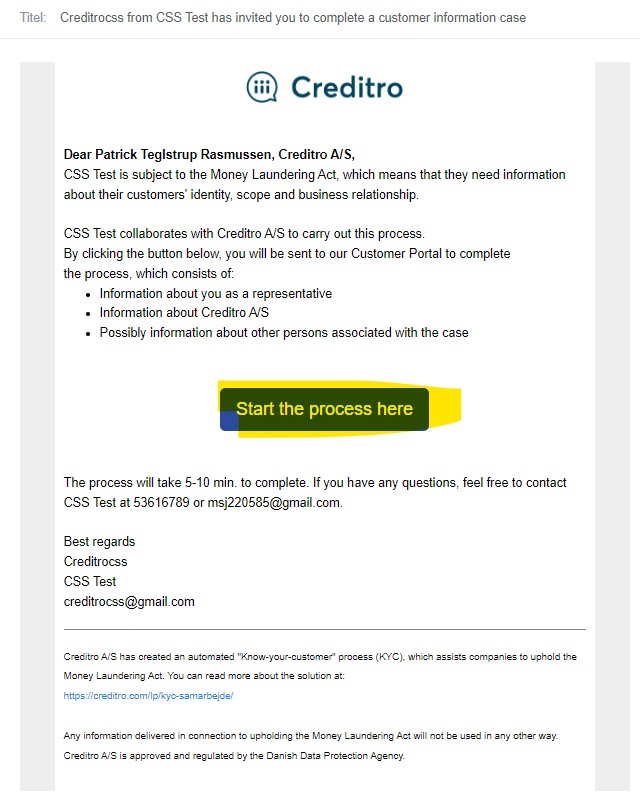
1) The invitation email
After the representative has received and opened the email, he clicks on the "Start the process here" link:
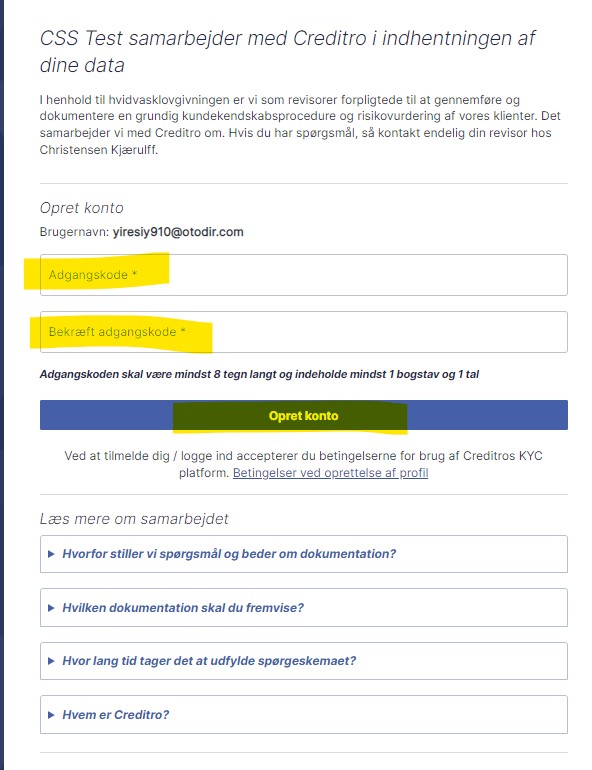
2) Create password
The representative then proceeds to the following page, where he must choose a password, confirm this in the field below and finally press "Create account" (or "Continue without creating an account", if you have opened that option):
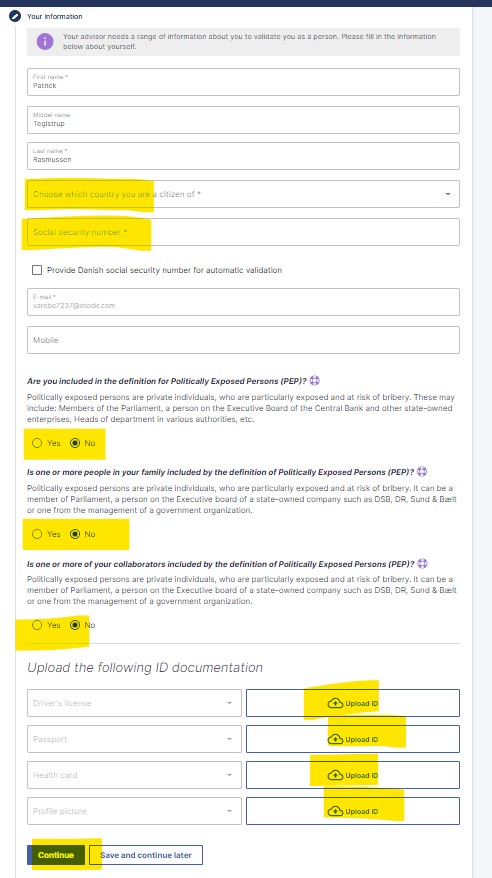
3) Personal information
The representative is then forwarded to the creation page, where the personal information must first be filled in and the ID uploaded. If the representative has a Danish social security number, this must be noted in the "CPR number" field. If the representative does NOT have a Danish social security number, this field must simply be filled in with ten 0s. The representative must then answer the three pep questions, and finally upload the required ID. If you have uploaded the personal ID for the representative, this will be pre-filled.
When the above is done, the representative must click "Next" at the bottom:
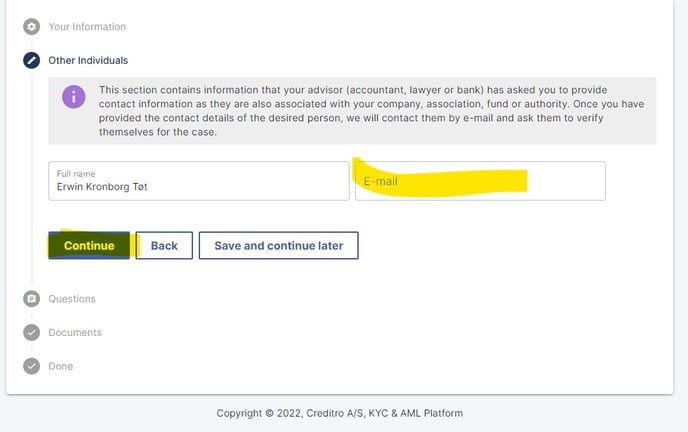
4) Insertion of e-mail addresses of other persons at the client
On the next page, the representative must insert the email address of the other persons on the case. If there are no other people on the case, this point will automatically be skipped. If you have already inserted email addresses of the others on the case, the field with "E-mail" will be pre-filled, so the representative just has to click "Next" at the bottom. If you have not pre-filled the email addresses, this is the representative's task. Once done, the representative clicks "Next":
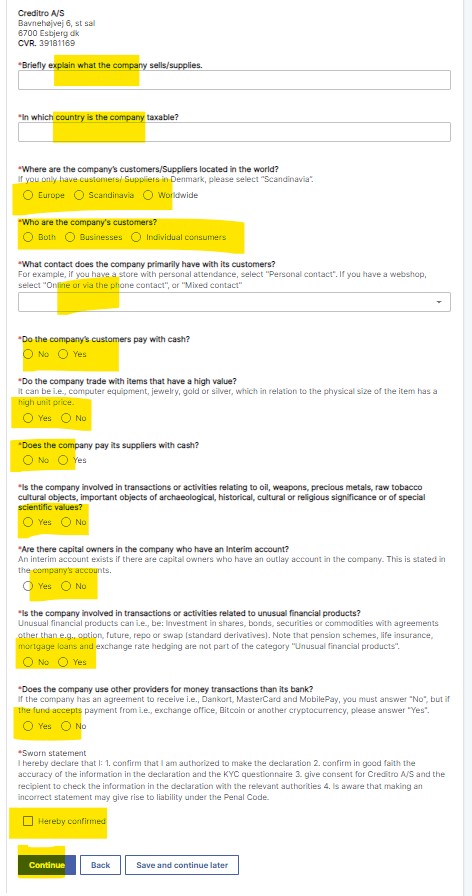
5) The questionnaire
On the next page, the representative must answer the questionnaire about the company, the association, the foundation etc.
Once the questions have been answered, the representative must tick "Hereby Confirmed" and then click "Next":
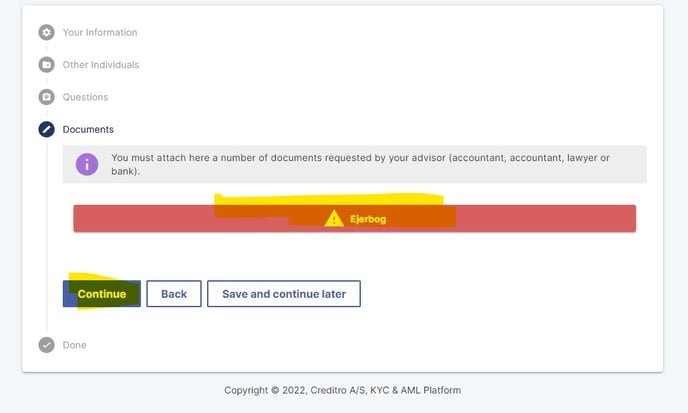
6) Document upload
On the next and last page, the representative must upload the required documents on the case (if there is a requirement for this). If you have uploaded this for the client already, it will be pre-populated and the representative will simply press "Next". If it is NOT pre-filled, it is the representative's job to do so and then click "Next":
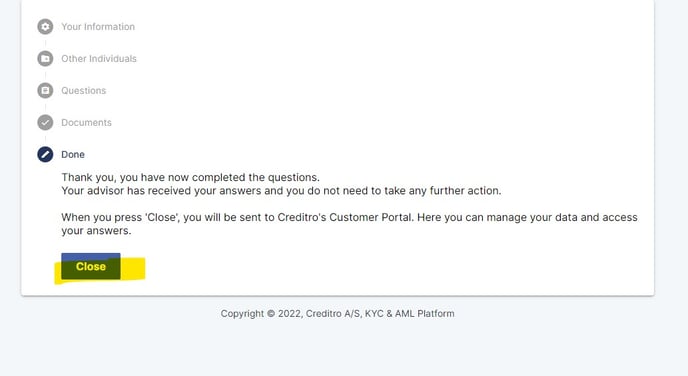
7) Receipt
After this, the representative is finished and will see the following receipt:
For all other people at the client than the representative, the mode is the same, but points 4, 5 and 6 are automatically skipped.