
When creating a new Client there is an option in Connected Persons that allows you to not invite the people associated with the case to StoreMyID. This option allows you to choose who should be contacted and who not.
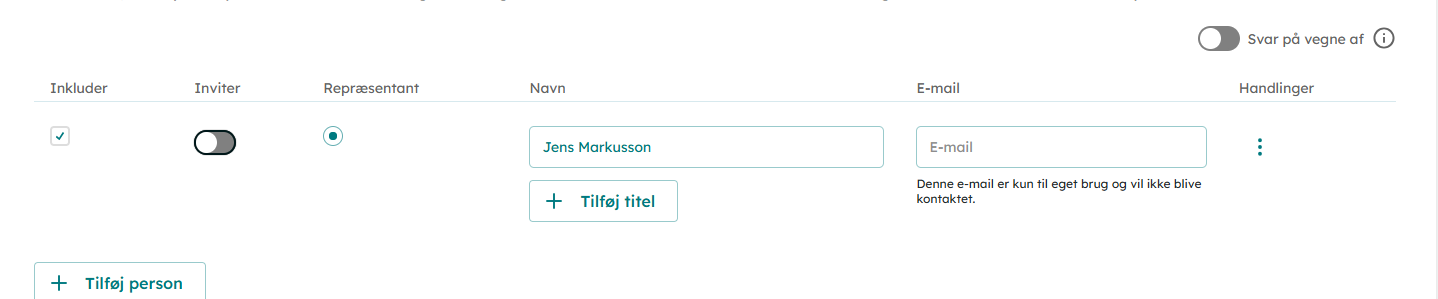
When the “Invite” toggle is off this person will not be contacted.
Filling out the person’s information
To see the person’s information, navigate to your Client and click on the People tab. Here you have an overview of everyone included in the case. To see more details about a person, click on the three-dot menu on the right and choose Personal details. This will open a side card that allows you to see their personal information.
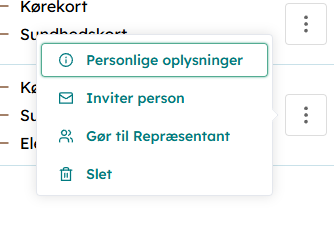
Choose Personal details from the list.
The side card has four tabs for you to interact with. For person’s information, make sure you are located on the Information tab.
Here you can fill out all the information the Client would usually complete themselves through StoreMyID. Those information fields include:
- Personal Information
- Name
- Title
- Citizenship & ID number
- Birthday
- Contact Information
- Email address
- Phone number
- Address
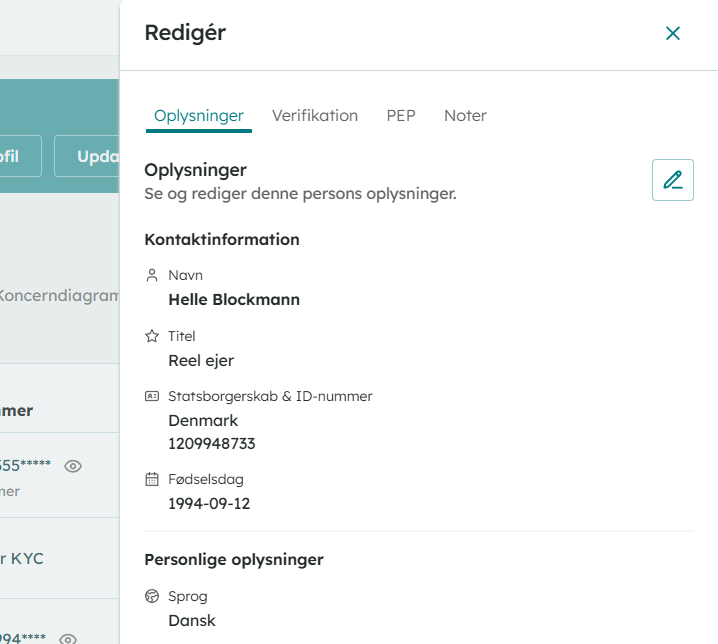
The Personal details side card.
To edit all the information, click on the little Edit button on the top right. Fill out all the information below and click Save to confirm your changes.
Note: All this information is also available in the same view when a person has been contacted. Once a client themselves has answered the questions, it is not possible to edit their answers.
Uploading necessary documents
Generally, certain documents need to be uploaded to the case for a specific person. To do so, navigate to the second tab in the side card called Verification. Here you can upload whichever ID documents were set as required in the Create Client process.
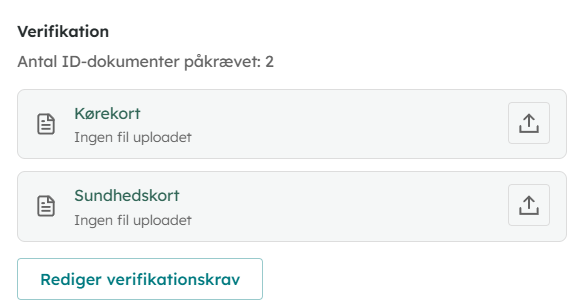
Upload the person’s ID documents directly through the system.
Answering PEP questionsThe third tab in the side card titled PEP allows you to answer the person’s PEP questions on their behalf. The questions presented here reflect whatever has been set up in the Settings and behave exactly the same as if the person was answering them through StoreMyID.
If you wish to upload a proof of a PEP declaration, do so by uploading a document in the section below titled PEP declaration. Once done, click on Update answers.
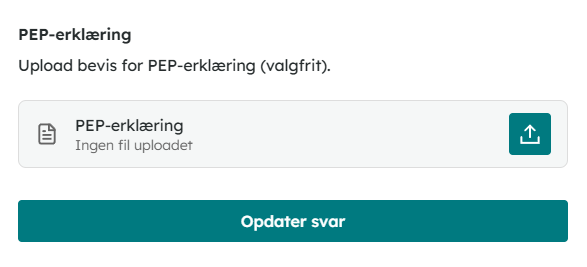
Uploading a PEP declaration is optional.
Additional notesIn case there is any additional information about a person (example: alternative address) or anything else that should be attached to this individual for this specific case, you can use the Notes view. Please note that notes are case-specific.
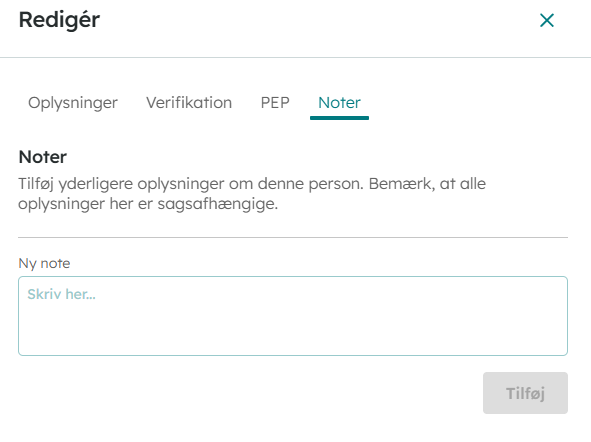
Attach any additional information for this person here.
Marking a person as completeIn order for the case to move forward, all the persons connected to a case have to be marked as “complete”. What this means is that certain criteria has to be fulfilled. What is still needed is reflected in the Status column in the People overview.

The missing criteria is shown in the Status column.
Personal details
While the majority of the information is optional, two inputs need to be fulfilled. The first one is the Citizenship and the ID number. The second one is the birth date.
The reason for this is that both are requirements for PEP screening, which is unavailable without this specific information.
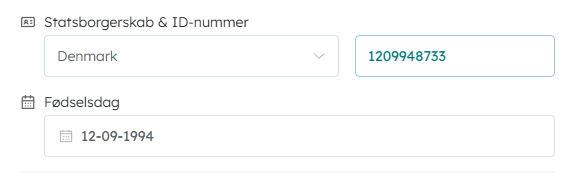
Make sure you include this information for a person.
Verification
If certain documents are marked as required for this case, these need to be uploaded in the Verification tab for a specific person. See Uploading necessary documents.
PEP
The third and final step is to confirm the PEP answers in the third view. Choose the correct answers in the form and hit “Update answers”.
The author and the timestamp will be marked both in the PEP view and the Activity Log.
Answering the Client questionsTo answer the questionnaire usually sent out to the Client, navigate to the Answers tab from the top menu. Click on the New questionnaire button to get started.
The questionnaire presented here is what was chosen during the Create Client process and is what a Client would usually see when answering through StoreMyID.
Once you are done with the answers, click on Save and they will be submitted. Alternatively, you can also click on Save as draft to save your progress and return to it later.
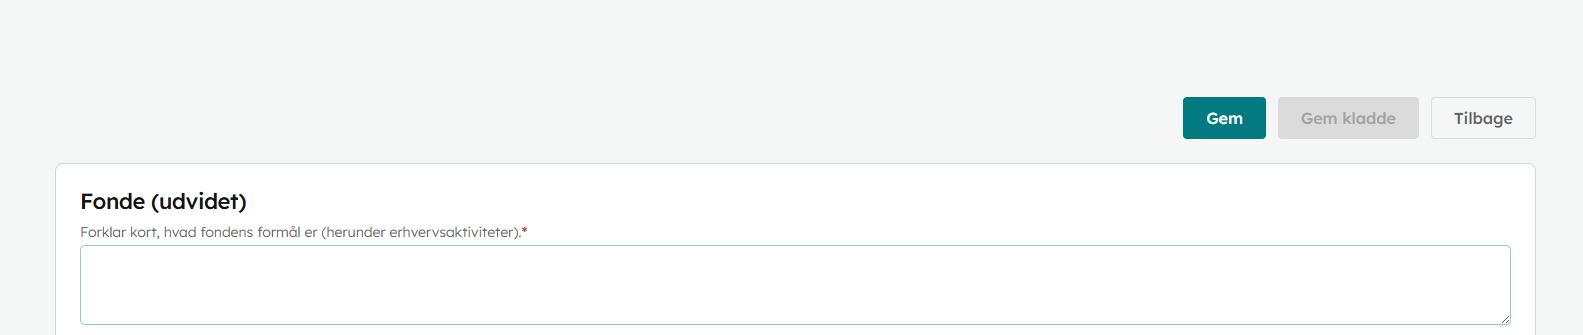
The questionnaire view mirrors what your Client would see through StoreMyID.
When done, the system will return to the previous page where you can see the overview of answers, who answered it, and when. Click on the View icon to see the questionnaire, Edit to edit the answers and Delete to delete it permanently.
All activity here will also be noted in the Activity Log.